Help Center
Add & edit vendors
Set up the vendors you buy from — payment terms, expense defaults, and 1099 tracking.
Create a vendor
If you use QuickBooks Online, import your vendors from QuickBooks before adding new ones in Werx so records link instead of duplicating.
- In the main left navigation, go to Expenses → Vendors.
- Click Add Vendor in the top right.
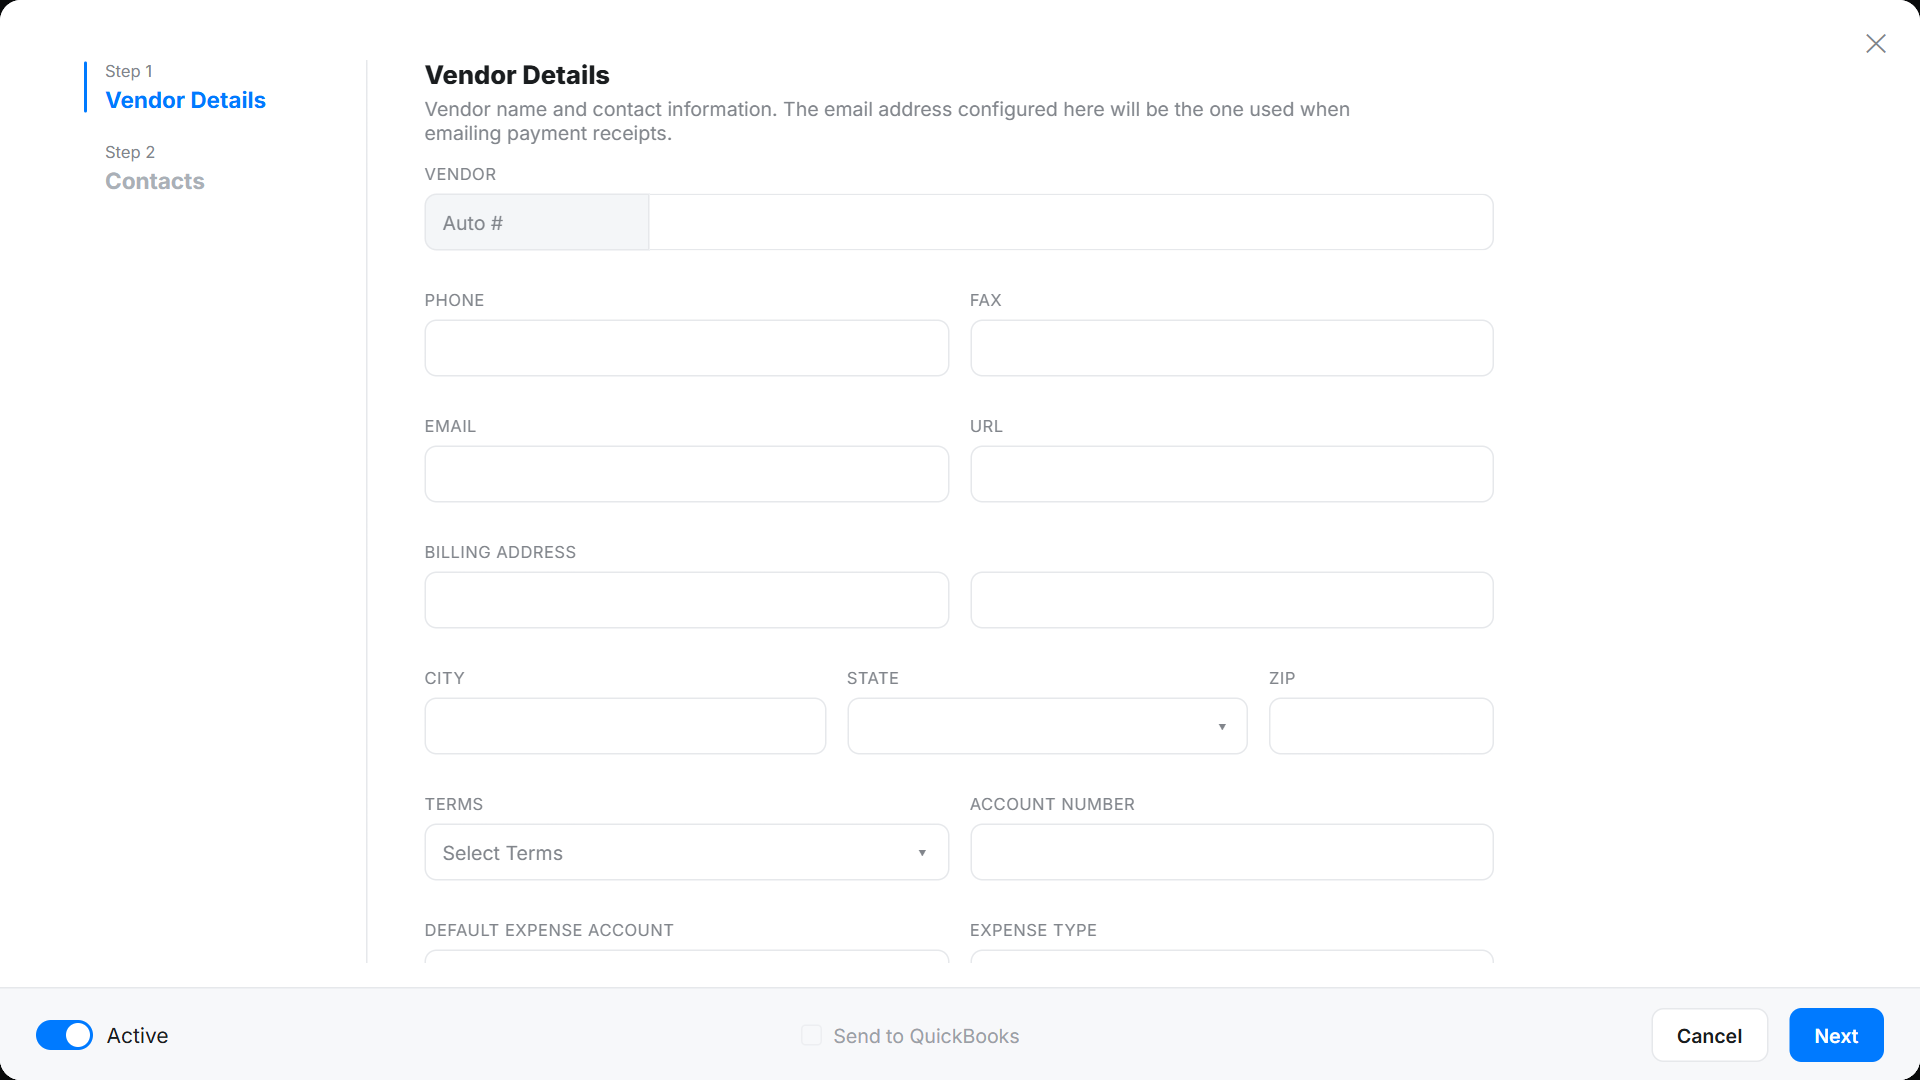
- Complete the Vendor Details. If vendor numbering is set to Manual (in Advanced Settings) you can enter a number; if it's Auto, one is assigned on save.
Vendor settings
- Choose default Payment Terms — applied to this vendor's bills, and editable per bill.
- Enter your Account Number with the vendor.
- If connected to QuickBooks, pick a Default Expense Account (pre-filled from your expense defaults, but editable).
- Set the Default Expense Type to auto-fill the cost type on POs, bills, and expenses.
- Tick 1099 contractor if it applies. "Track Payments for 1099" tells QuickBooks to monitor payments so it can produce 1099s at year-end.
Add vendor contacts
- Open the Contacts tab in the Vendor Details screen.
- Click Add Another Contact for each person you deal with.
- Mark one as the Primary Contact.
- Remove a contact with the – button.
Sync to QuickBooks & edit
- Sync: tick Send to QuickBooks and click Save. If the checkbox is greyed out, an administrator should check the QuickBooks integration.
- Edit: open the vendor from the list, click More, then Edit Vendor.
- Activate / deactivate: use the Active toggle at the bottom-left of the Vendor Details screen.
Vendor FAQ
Should I import vendors from QuickBooks first?
Yes. If you're connecting QuickBooks Online, import vendors before creating new ones so records link instead of creating duplicates.
What does "1099 contractor" do?
It flags the vendor so QuickBooks tracks payments to them and can generate 1099 documentation at year-end.