Help Center
Purchase orders
Issue POs to vendors, code every line to a project budget, and track what's been received.
A purchase order (PO) is a document you issue to a vendor that outlines a purchase — the items or services, quantity, price, payment terms, and delivery details.
Create a purchase order
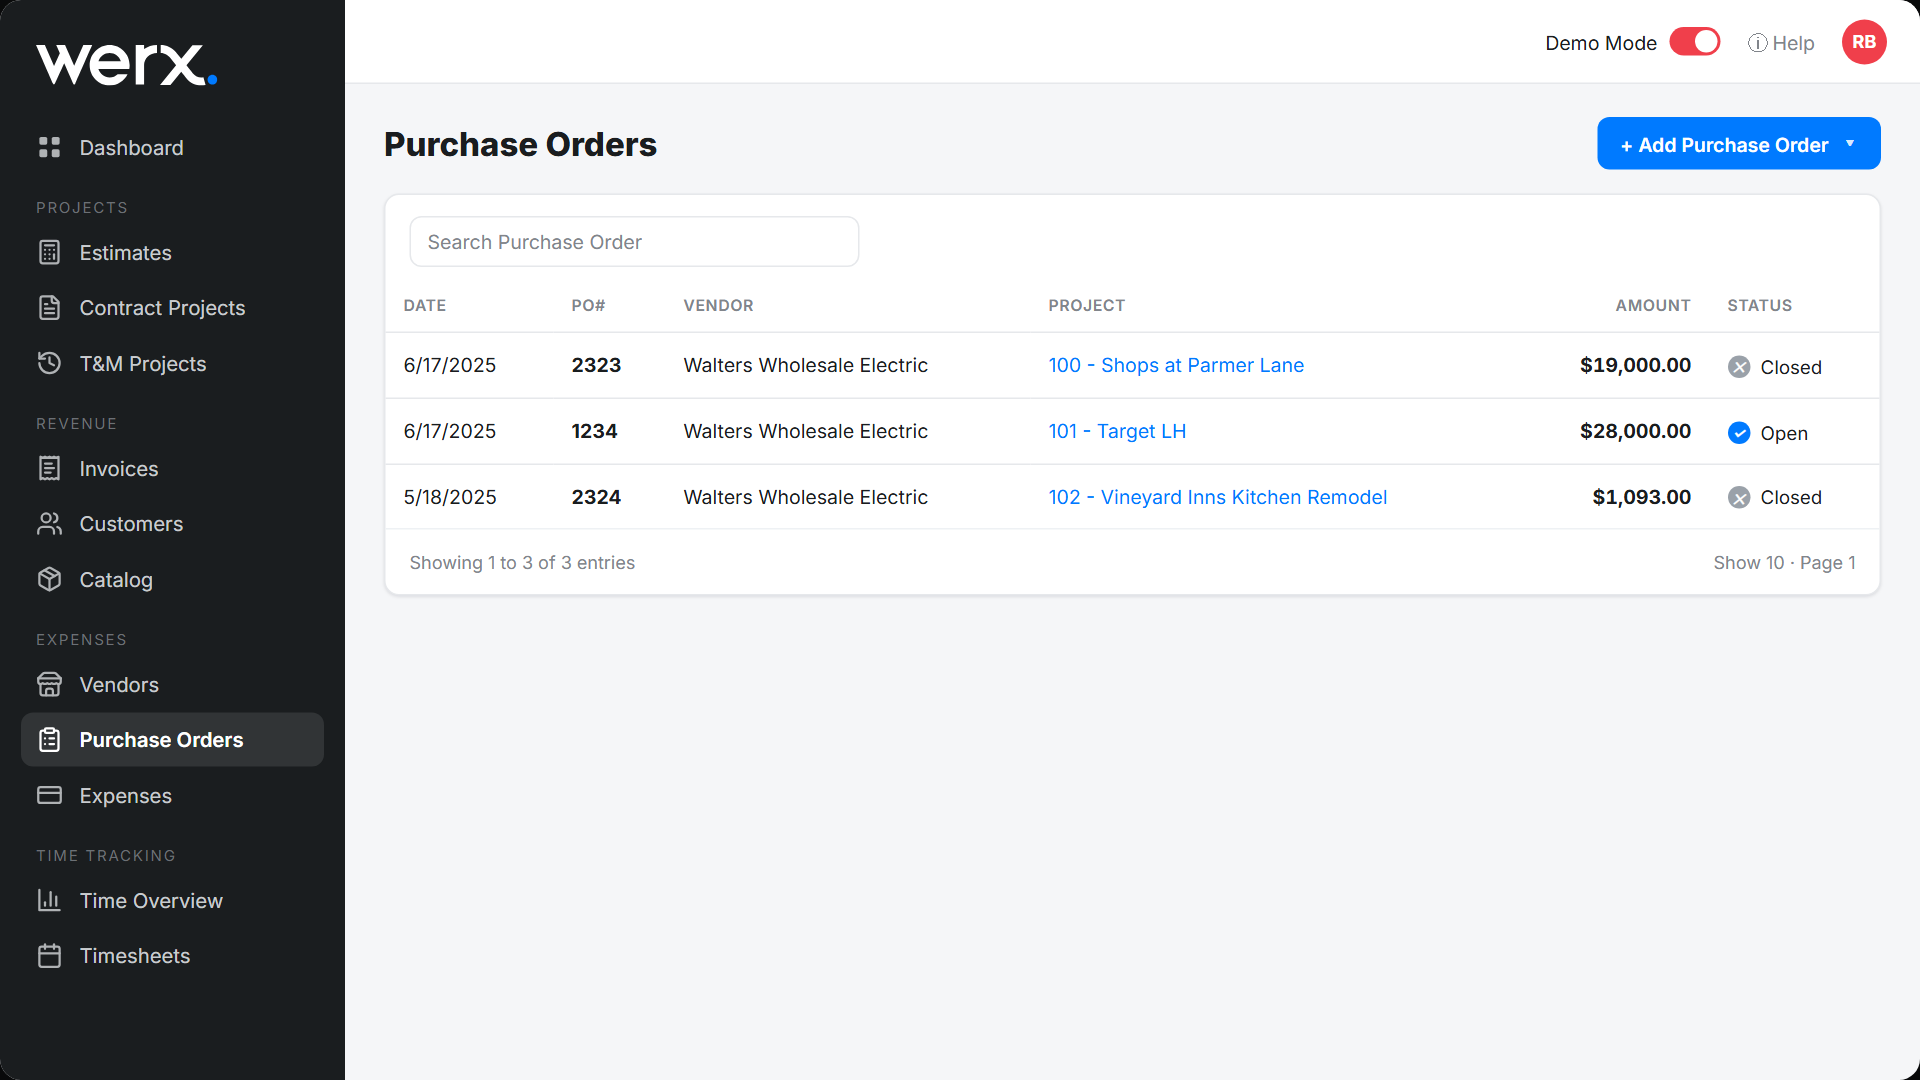
- Go to Expenses → Purchase Orders and click + Add Purchase Order.
- Select the Vendor, then add your PO # and the PO Date.
- Set the Delivery Type (Delivery, Will Call, etc.), the Date Needed, and the Delivery Address.
Enter purchase items
- Click + Add to create a line item.
- Select the Expense Type (Material, Equipment, Labor, Subcontractor, Other) so Werx tracks the cost correctly.
- Enter a description, quantity, and rate or amount.
- Choose the Project → budget item the cost applies to.
Each line shows a Quantity Received count once the PO is applied to a vendor bill. When all items are received the line is marked Closed — you can also close a line manually if you don't expect the rest. Learn about budgets.
Send the purchase order
- Send by email: click Save & Send, pick the vendor contacts, add a message, and click Send. Use Preview to see the vendor-facing PO.
- Get a link: click Save & Link, then Copy Link to paste into any message to your vendor.
Purchase order FAQ
How does a PO become a bill?
Open the PO and use **Copy to Bill** to create a vendor bill with the PO's line items already filled in, then record the bill and payment.
What does Quantity Received track?
As you receive items against the PO (via bills), each line's received count updates; the line closes when fully received.